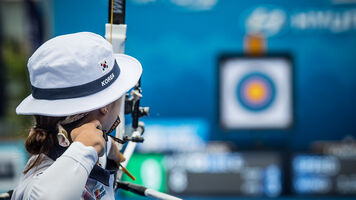
Archery 101: How to fletch an arrow (with plastic vanes)
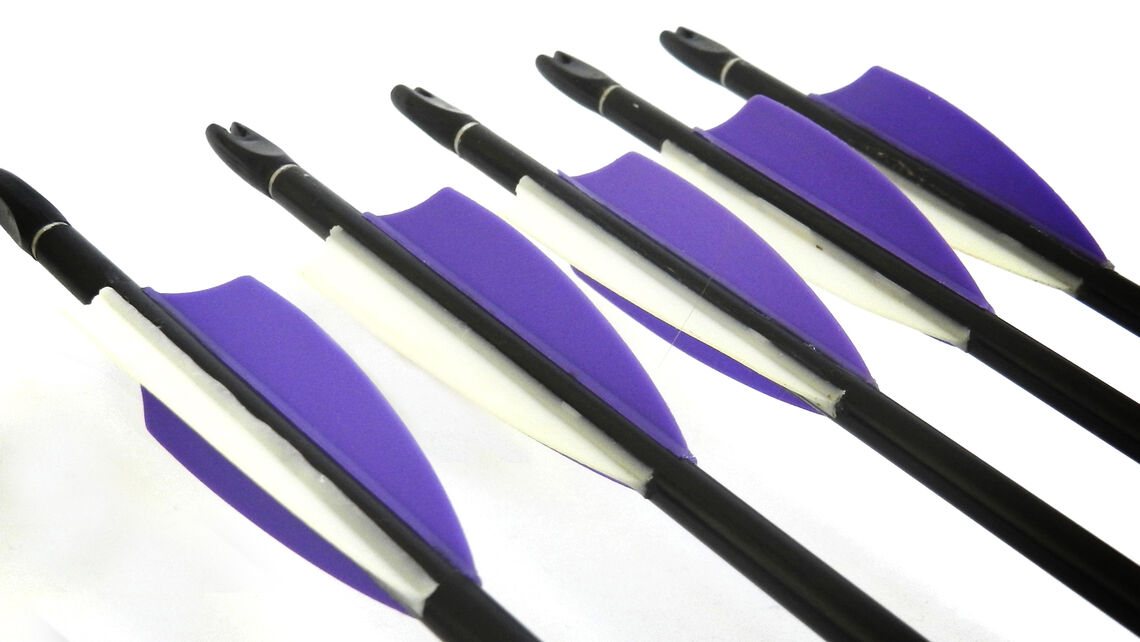
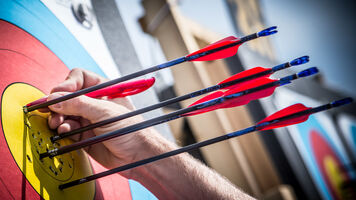
The most common type of fletching used by modern archers around the world is the plastic vane. Durable, strong, cheap and easy to use, there are thousands of different shapes, colours, sizes and brands available.
On the line, plastic vanes can be seen regardless of season and level of competition – as well as being used by the majority of beginners, most top compound archers and many recurve archers use them.
Outdoors, small, streamlined vanes with minimal surface area retain arrow speed but stabilise the shaft’s flight over distance. These often give way to larger vanes indoors, where the larger surface area is needed to stabilise the arrow’s flight much faster – as the distance is reduced.
Once plastic vanes have been applied properly to an arrow, they can be difficult to remove – so take care when fletching your arrows.
Gear

To fletch arrows, you will need:
- Plastic Vanes – ensure they are all the same shape and size
- Arrow shafts
- Fletching glue
- Fletching jig
- Paper towels
- Pencil
Ensure your bare arrow shafts and your vanes are clean and grime free. This will help the glue bind properly and your fletching will last longer. If you are applying arrow wraps, do so before fletching. Your shafts should have nocks installed to properly clip into the jig.
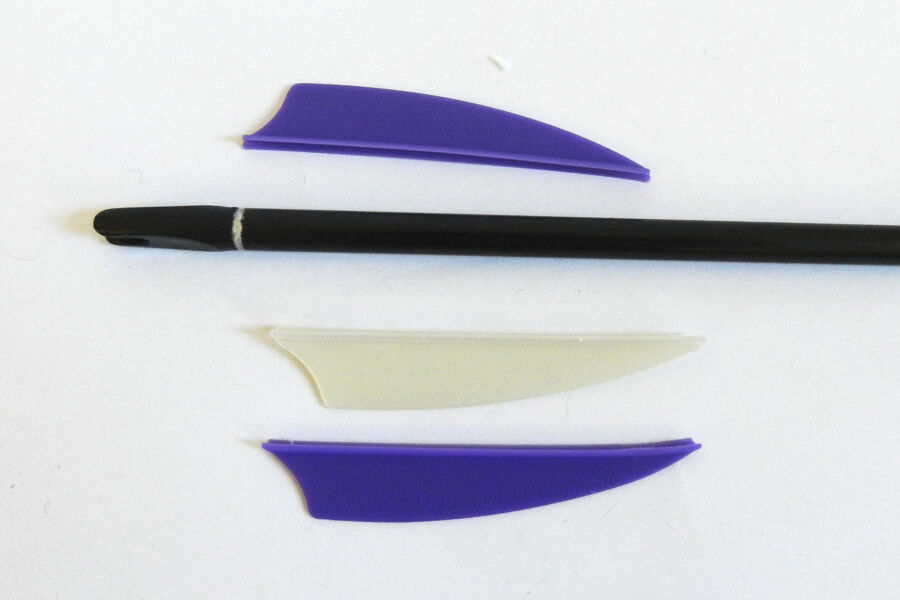
Arrows have two ‘hen’ vanes, which create a flat path against the riser, and one ‘cock’ vane, which points away from the riser when nocked to the string. This cock vane is often a different colour – especially on arrows used by beginners – so it’s easily identifiable.
Step 1

Place an arrow in the fletching jig. Decide how far down the shaft you want to affix the fletching – 2cm is a good starting point – and make a note if the clamp has a ruler or, if not, mark the location directly on the clamp with a pencil.
Step 2

Clamp the vane and apply a layer of glue along its length in the groove that will sit against the shaft.
Step 3

Press the vane into place – making sure you get it the right way up! – and apply very light pressure to ensure the vane sits snugly against the arrow, and the glue bonds properly. Gently wipe away any excess glue with a paper towel.
Step 4

Leave the glue to dry for a few minutes, then carefully remove the clamp.
Step 5

Rotate the arrow 120 degrees in the jig – most have three reliable clicks or references, allowing the arrow to turn in situ – and repeat the process with the second and third vanes.
Step 6
With all three vanes attached, check the alignment of the nock with the ‘cock’ fletch – the odd vane out. It should be aligned with one of the two arms of the nock, rather than the hole. Most nocks have one arm with a bump – this is the one to align to, as it’s added for the same reason as the ‘cock’ fletch.
(More experienced archers tend to use the bump, or recognising the correct alignment by eye, rather than different-coloured vanes.)
Step 7
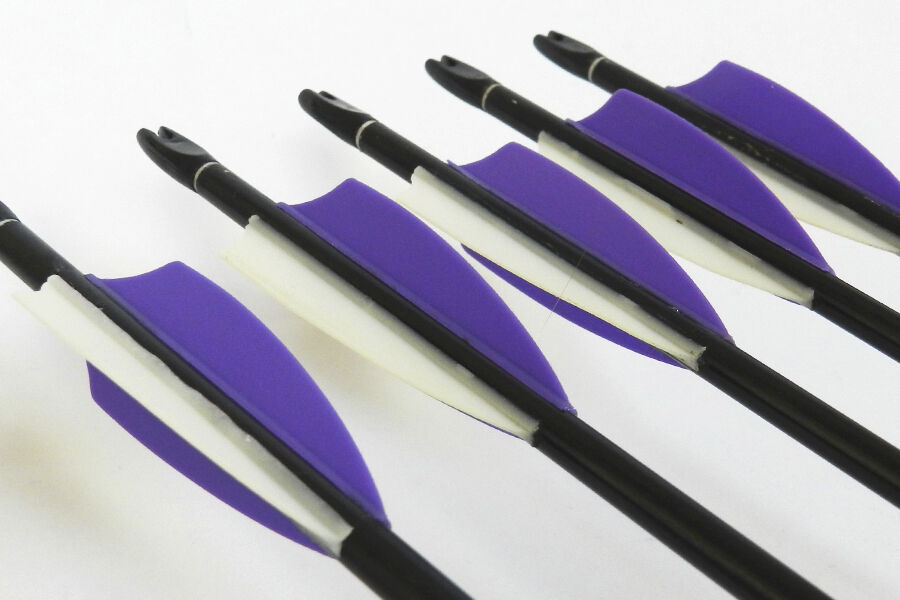
It’s advisable to leave a freshly-fletched arrow for a couple of hours before shooting, just to make sure the glue is properly set. If you’re a compound archer, and you find you get some pass-throughs, now’s the time to add a small dollop of glue at the front edge of the vane, just to protect it that little bit more.
Once that glue’s dry, you’re ready to head to the range. Enjoy!


